

 Section Widget
 Categories Widget (Show All)
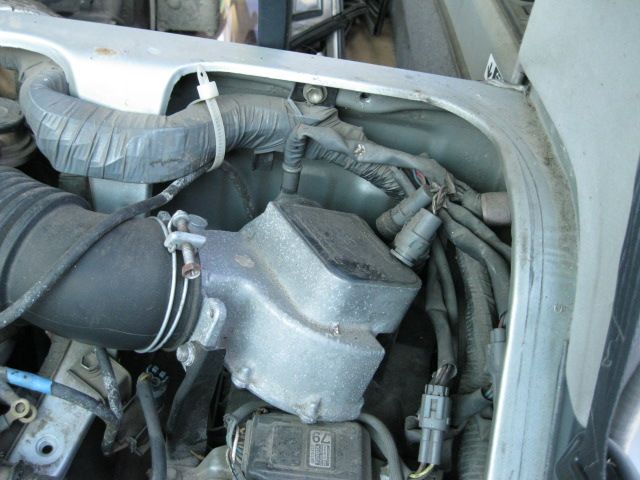
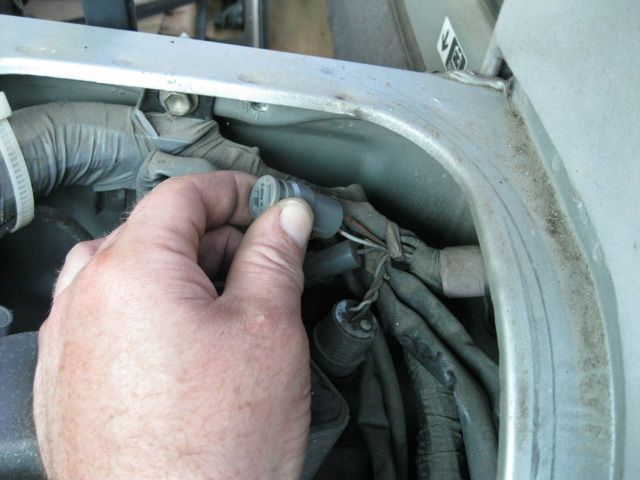
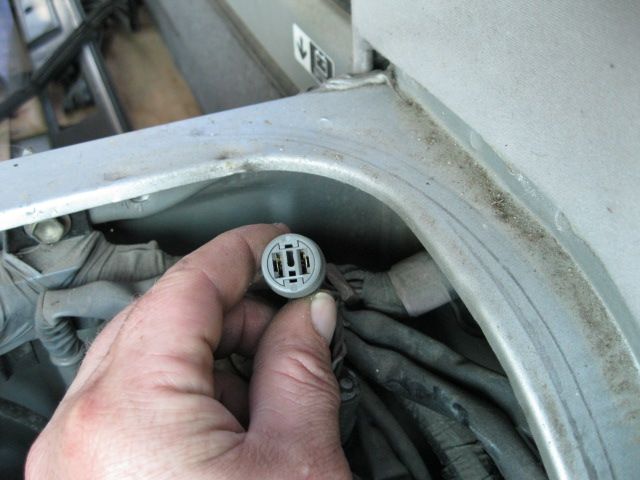
To check codes you simply need to "jump" the conductors inside this connector with something metallic. I have a test wire I made up with male spade connectors but other things would work. I have used a metal paperclip in a pinch and it worked fine. Once the connector is jumped, make sure all your accessories are turned off and turn your ignition to the "Run" position (do not start).
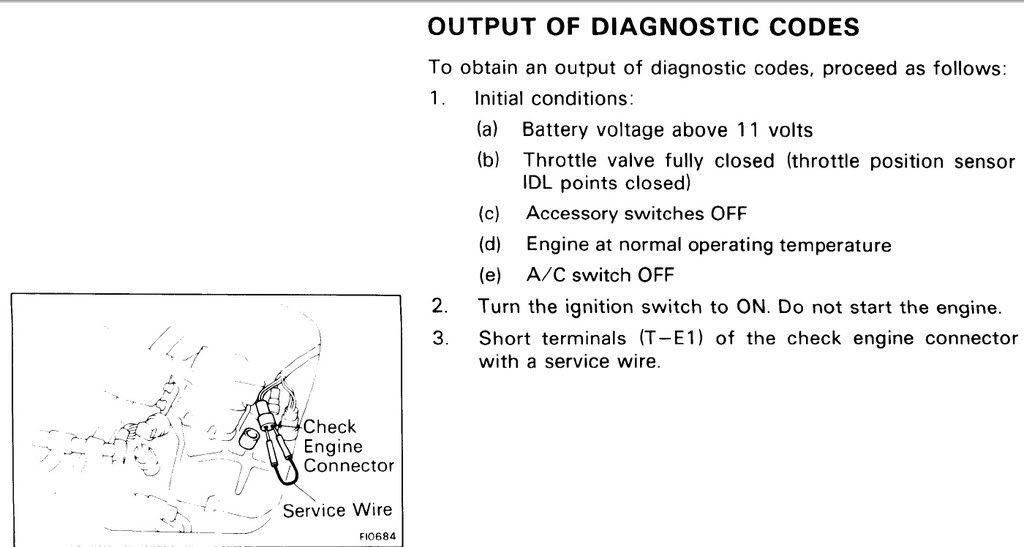
Your van is now in the diagnostic mode and the ECU will tell you what is wrong by blinking the "check engine light" in your instrument cluster. Layout of the dash cluster will vary depending on year and model, but the "check engine light" will now look something like this:

If the light is blinking in an irregular pattern (like above) this means you have one or more trouble codes stored in your ECU. A steady and constant blinking is the ECU telling you everything is fine. For more information on how to read codes CLICK HERE.
.
 Recent Forum Posts

Rate this article