
Wondering if anybody has replaced the sliding window seals on their van? The window I'm speaking of is right behind the front seats. My van is a cargo van I believe with what I've read from here that has windows added?


Wondering if anybody has replaced the sliding window seals on their van? The window I'm speaking of is right behind the front seats. My van is a cargo van I believe with what I've read from here that has windows added?

We'd ALL love to come up with those seals. Long, long NLA.
You have OEM windows on that van, and no doubt it came that way. The 2nd gen 2WD cargos came in both window and panel versions (4WD were panel only; 1st gen were window only).
Gwen
1985 5-speed window cargo van set up for llama haulin'; 345K ("Trustyvan")
1989 4WD 5-speed DLX; 410K and an odd sense of humor ("Skylervan")
Thanks Gwen, I'm still picking up info as I go. My seals seam ok, but it's like they have drawn up or shrunk in the corners. I'm wondering if I can add some type of rubber conditioner and stretch them back into the corners...😁
I used black silicone to fill the gaps and reseal it. Same around the windshield.. Repeat every other year or as needed. No leaks or drips.
How does the silicone work where the window slides? Maybe I'm misunderstanding how you mean that.

These always shrink and look bad. Windows don't slide or close right if let go for too long. I've redone mine by removing the window from the van, removing the glass, then removing the seal. After everything is washed and clean I put it all back together. When putting the seal back in I pretend I've got an endless supply and force as much excess as possible into the groove (especially the radius parts). This makes it sit nice in the corners but makes it come up about 4 or 5 inches too short. To fill the gap I have another old seal I pulled from a junk yard van that I cut pieces out of. I've done this on 3 different vans and they always come out nice. It is however time consuming and somewhat of a PITA. It's hard to justify the time/effort but in the end it's worth it. Tim
That sounds like what I'd want to do. I'd thought about piecing them together and even asked about some seals from a few parts vans on here but no responses. How difficult to remove the window/glass?Originally Posted by timsrv

FYI, there's a "c" shaped interior molding that needs to come off (just pull it off with your fingers), then the frame is attached (glued) to the exterior body with a stubborn black, sticky, stretchy, non-hardening putty. That stuff holds on really good, but some careful prying along with steady pressure will help pull it away. I usually get a razor blade knife in there and slice it while it's being stretched. Once it's separated don't let it touch itself again or it will bond instantly. After you get about 1/3 the way around the frame it starts getting easier.
When I put the window back in I inspect to make sure the the putty is still in the right places, then simply line it up and push it back in. The molding snaps back in to insure it won't fall out. Using a heat gun to make the putty soft (before installation) will help insure a good seal, but sitting in the sun on a nice hot day will do the same thing. This time of year I'd probably use a heat gun. Tim
Thanks Tim! I'll see what I can find as far as used seals go and I'll dig into it. 👍🏼👍🏼
Sorry to dig up an old thread... but has anyone looked into aftermarket solutions from the RV world and had any success? My channel is starting to shrink and expose the relief slits in the outer radius..
https://www.dkhardware.com/universal...CABEgLy3fD_BwE

It may be an old thread but new solutions are always welcome... if you happen to make the purchase and repair please share your results
JDM

Do not waste your money on the CRL universal double wide channel...it is way too wide to fit properly in the channels.
I searched high and low a couple of years ago for a suitable rubber channel replacement. There are only a few places that I could find with the closest match to the 84-89 Toyota Van sliding windows, and the place with the best price was in Australia. At the time, I could not find anyone in the USA with the product in stock.
I will make it easy for everyone...
https://www.jenkinsrubber.com.au/sto...nel/SGC-64-020
It is sold by the "metre". You will need 3 metres per side...6 metres will be enough to do both sides.
Great company and wouldn't hesitate to do business with them again.
I emailed them for a price shipped to California.
They responded quickly with a quote (within 24 hours), and were happy to take Paypal for payment.
I paid approximately $80 USD shipped for 6 metres back in January 2017. The invoice sent to me was $125.28 AUD, not U.S. Dollars. Like I said, the total was about $80 in U.S. Dollars. Don't worry, Paypal will automatically convert your payment at the current conversion rates.
The rubber channel is very flexible, but will be flattened and rolled up from shipping. No need to make relief cuts in the corners. Just leave the rubber channel out in the sun for awhile to loosen it up and use "3m 08008 Black Super Weatherstrip Adhesive" to keep it stuck in place.
I used a paper hole-punch to make holes on the bottom channel where the weep-hole drains are located. It's a good idea to test-fit the rubber channel first (without using the 3m adhesive), so you can cut the piece to length and mark the locations for the weep-hole drains. Be sure to refer to the original rubber channels, so you get the proper layout of which channel has a hole at each weep-hole drain.
You will also need to make cutouts for the vertical center bar. I used a smaller X-acto knife with snap-off blades for those, but be careful...it is easy to cut too much
This is not a quick project. I spent countless hours on it, so don't expect to have it done before lunchtime on your day off.
Cali Cruiser
thank you for the link a quick write up!!
JDM
Hey ya'll - Im hoping someone has guidance on finding a replacement window seal for my 1991 Toyota Liteace. Photo attached. Thank you!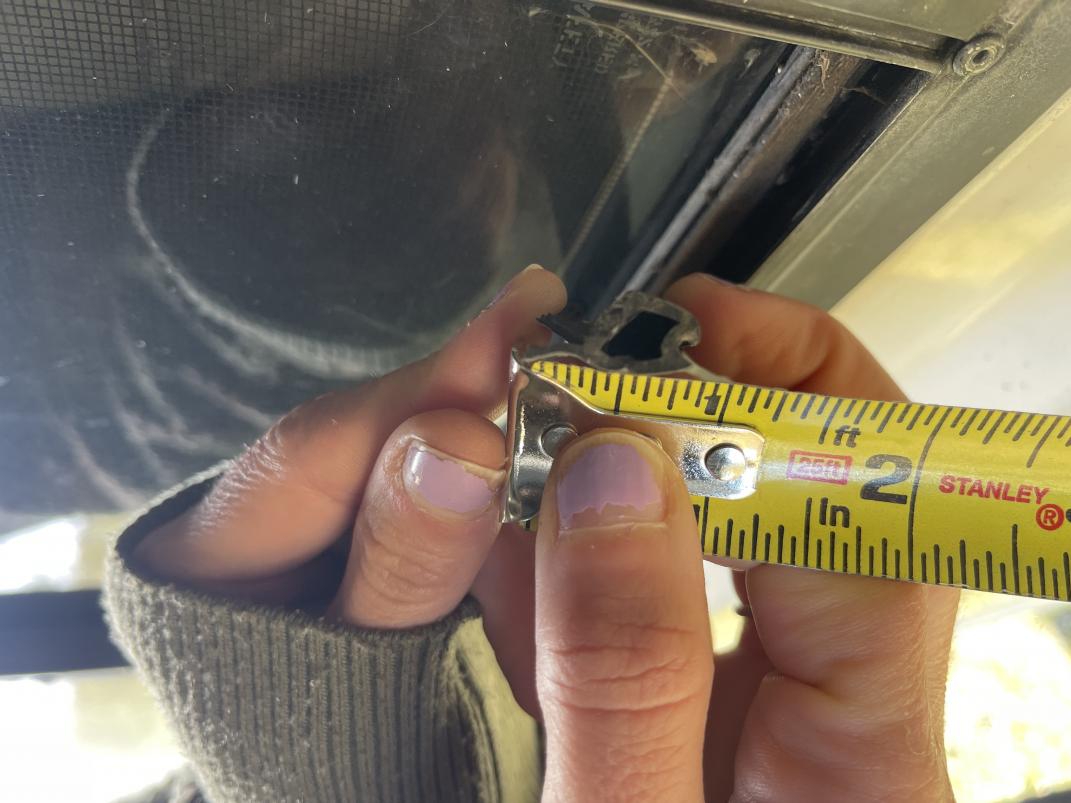

 Reply With Quote

