Originally Posted by
timsrv

FYI: A few common mistakes (below):
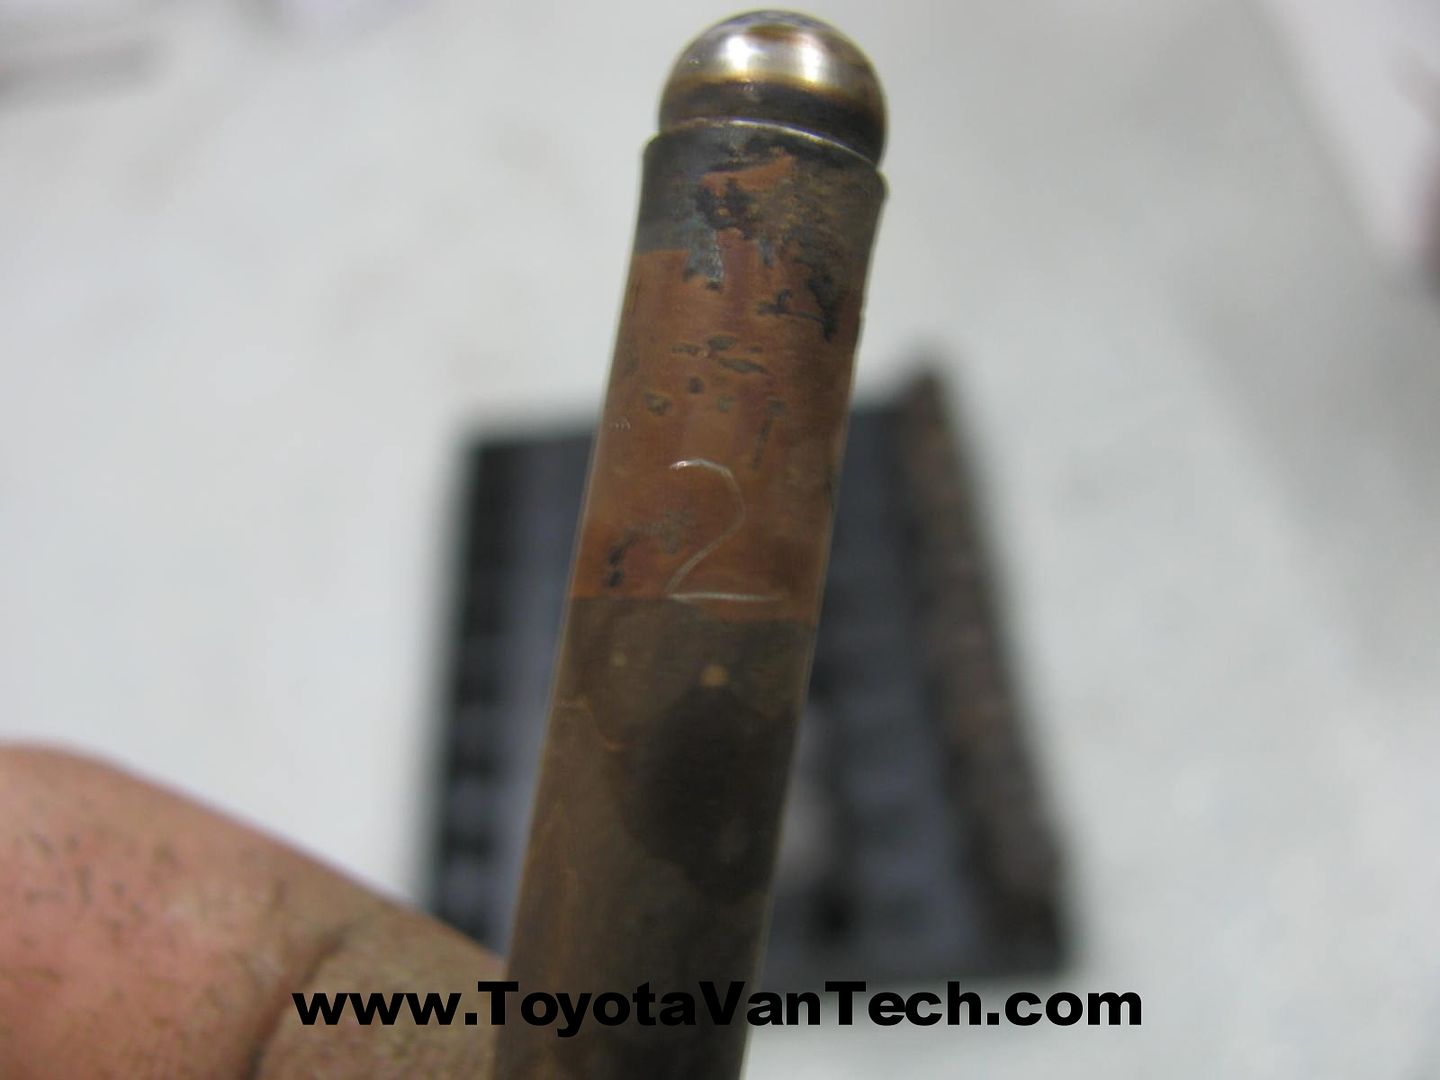
Mixing up push rods
Push rods, lifters, and rocker arms are all the same when new, but as they break-in they develop unique wear patterns. Because of this, after break-in they should always stay paired with the parts they were originally mated with. Swapping push rods around or flipping them upside down will make them go through this break-in process again. Depending on how similar the wear patterns may (or may not) be, mixing these up can cause excessive wear and likely lead to premature failure. Typically it's considered acceptable to throw a new part into the mix, but not a previously used one. You can avoid early failure by keeping things in order. A good way to do this is to flip a cardboard box upside down and poke 8 holes in the bottom. Make the holes in a straight line and mark what end is the front. As you take the push-rods out, start on one end and remove them in order. As you remove them poke them right side-up into the holes (in the order they came out).


 Reply With Quote


 . FYI, if you bring in one of your injector baskets, he'll match up the size and give you the o-rings for those as well
  .
.