-
Van Fan


- Rep Power
- 1
Cleaning a Dirty Coolant Reservoir
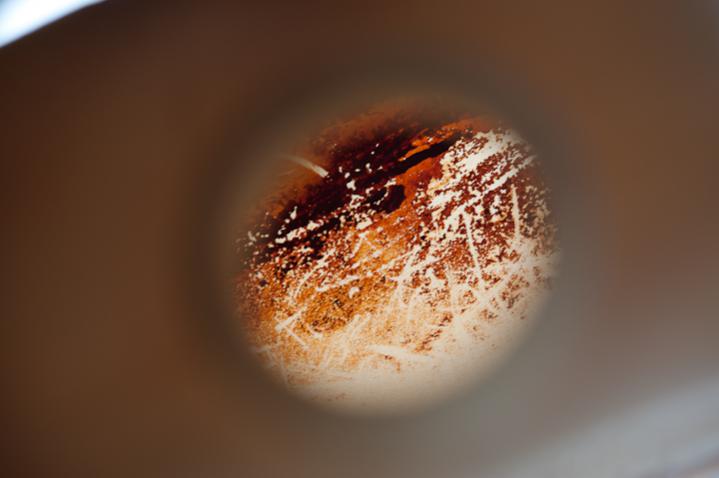
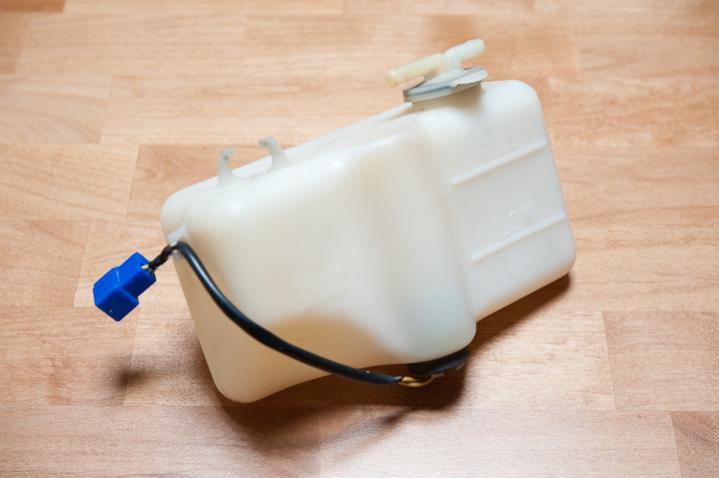
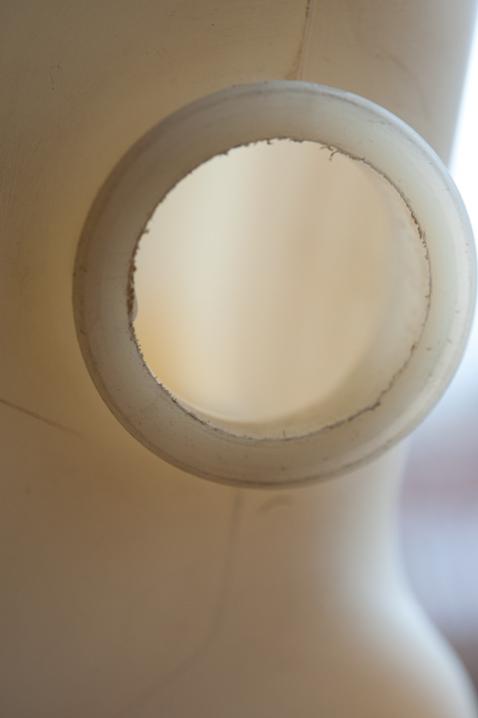
Today, I thought I'd share my experience on how to clean a dirty reservoir tank. After replacing worn coolant hoses, and completing a thorough cooling system flush, it was on my list to find a way to clean the recovery tank. The previous owner had left the tank looking pretty rough. Neglect had left a thick coat of rust/grime along the inner walls, entering the possibility of tainting fresh coolant. (That, and it looks gross.)
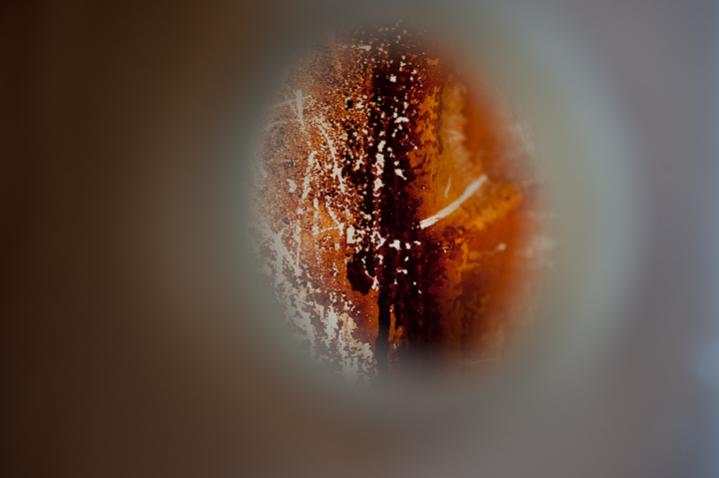
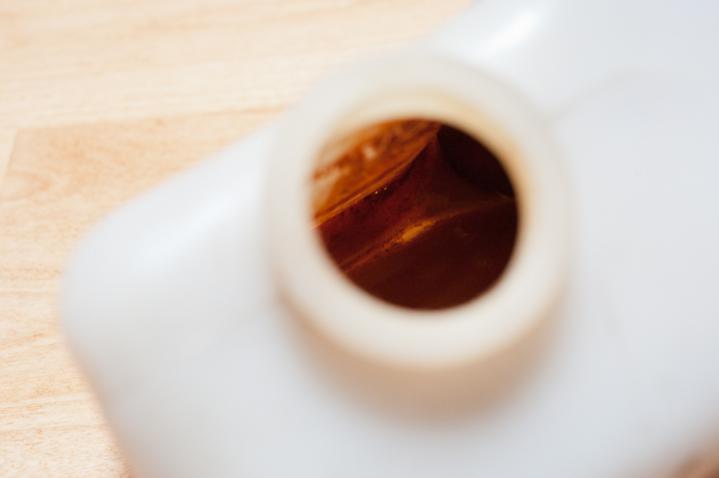
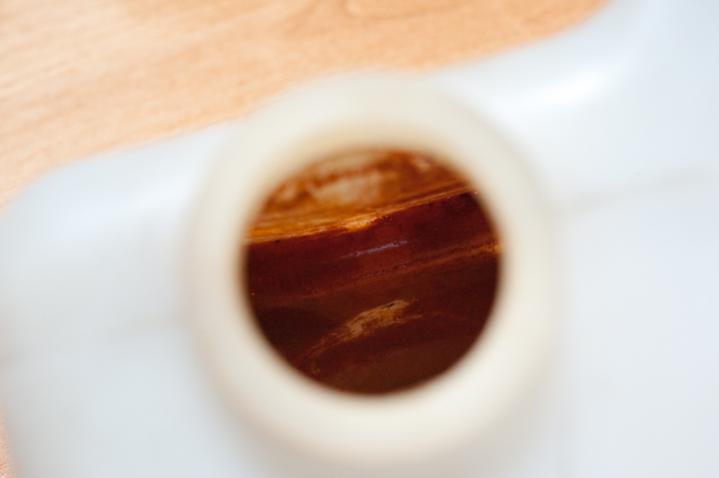
I'd tried conventional cleaners, and brushes, with varying degrees of success. Most solutions were like trying to clean a carpet with a garden hose, they just didn't work. Brushes were limited in that they couldn't reach into the tank effectively. I needed an abrasive material, that wasn't so harsh that it could damage the coolant level float inside the tank. I had heard of using coffee grinds -- but I had a item on hand that could work better: Kitty Litter.

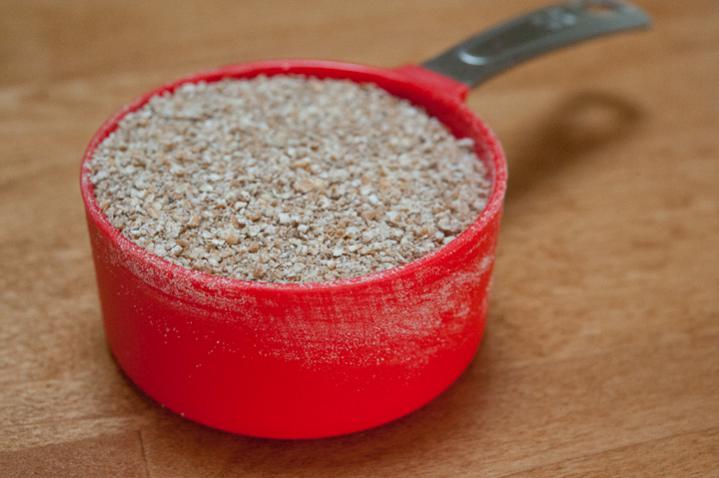
Meet Homer (or 'SlugLoaf' as I affectionately call her.) Without her, I wouldn't of had an ample supply of material to use. The process is simple really. Pour a 1/2 cup of litter into the tank, and fill the tank halfway with water. This particular litter was designed to be flushed down the toilet, but as long as you have more water than litter, clumping/hardening shouldn't be an issue.
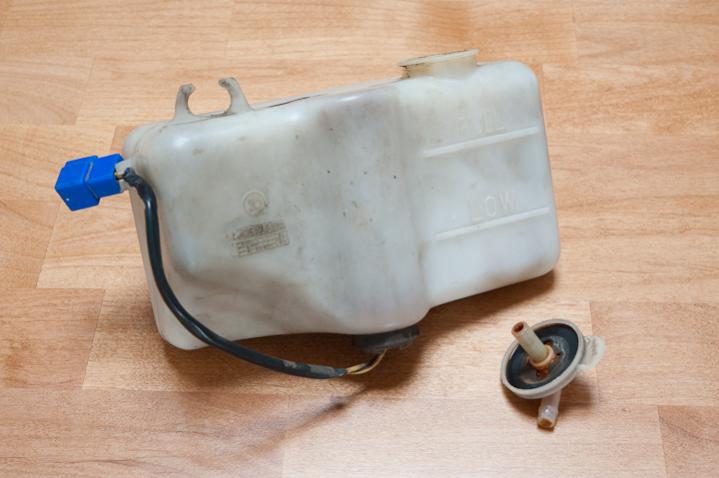
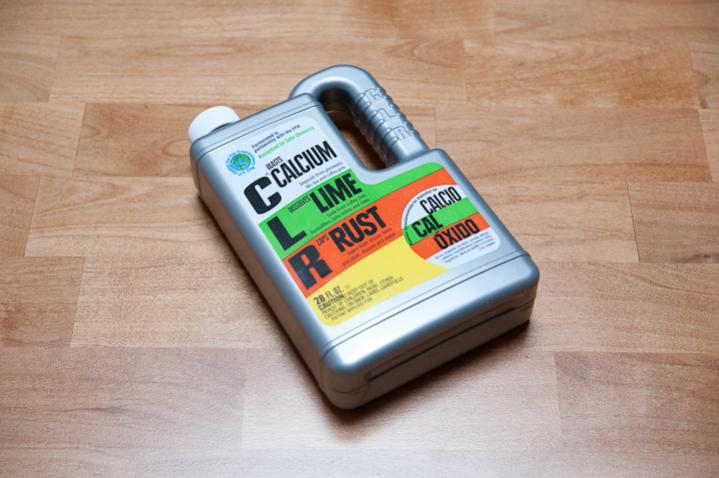
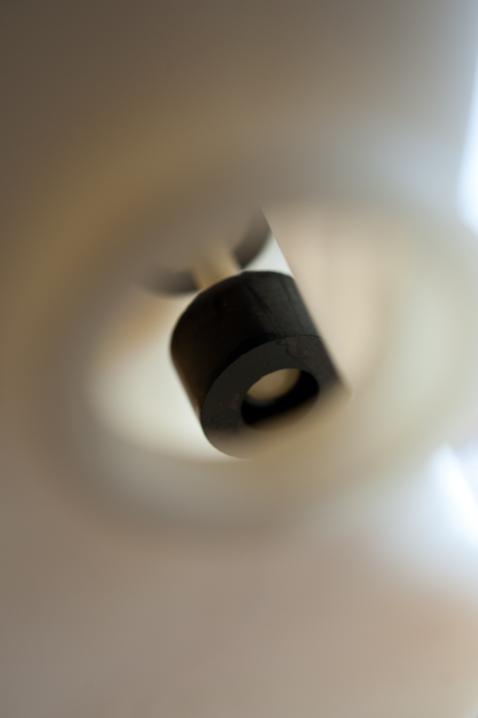
Once its inside the tank, replace the cap and shake vigorously for a few minutes. Dump the contents out, and rinse. Repeat as necessary until clean. If you find you have really stubborn deposits, soak the tank in CLR for an hour (or over night) before using the litter. As you can see the tank is now clean, and the float is undamaged. Hopefully this'll help some of you guys looking to clean your tank.
Last edited by JRSJ; 03-13-2012 at 03:27 AM.
Tags for this Thread
 Posting Permissions
- You may not post new threads
- You may not post replies
- You may not post attachments
- You may not edit your posts
-
Forum Rules


 Reply With Quote